
Let the Refit Begin....
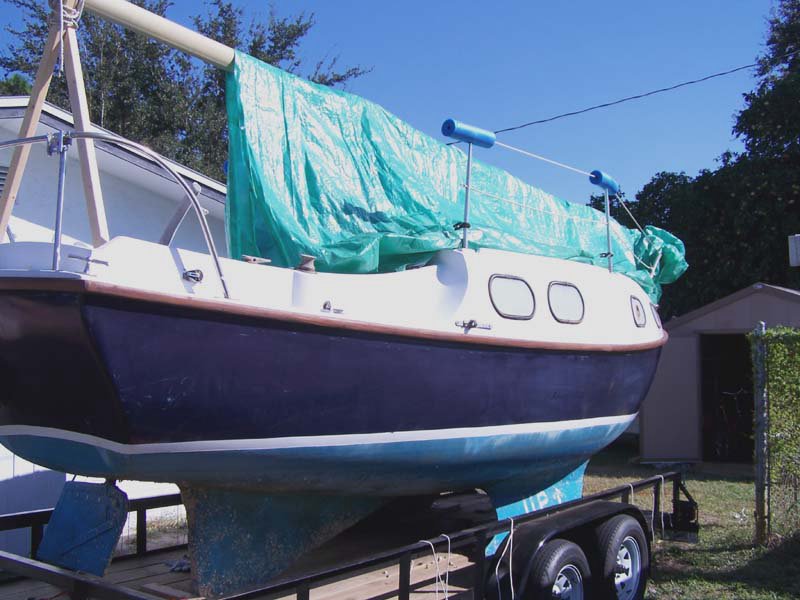
After a week at work I couldn't wait for the weekend so I could get started on the refit. Saturday morning after breakfast Rich and I hopped in the car and headed over to West Marine to pickup some supplies for this weekend. Teak Oil, Paint, Bungs, Brads and lots of sandpaper were on the list plus a few more misc items. The goal for this weekend was 1. Refinish the rub rails 2. Get the outboard running. 3. Work on the teak that makes up the companionway. I would say 1 and 2 was completed and about a third of number 3.
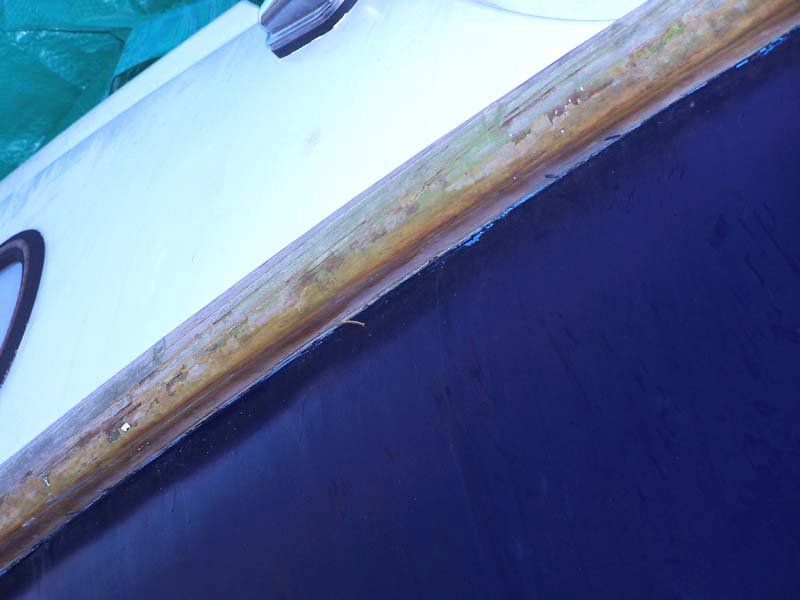
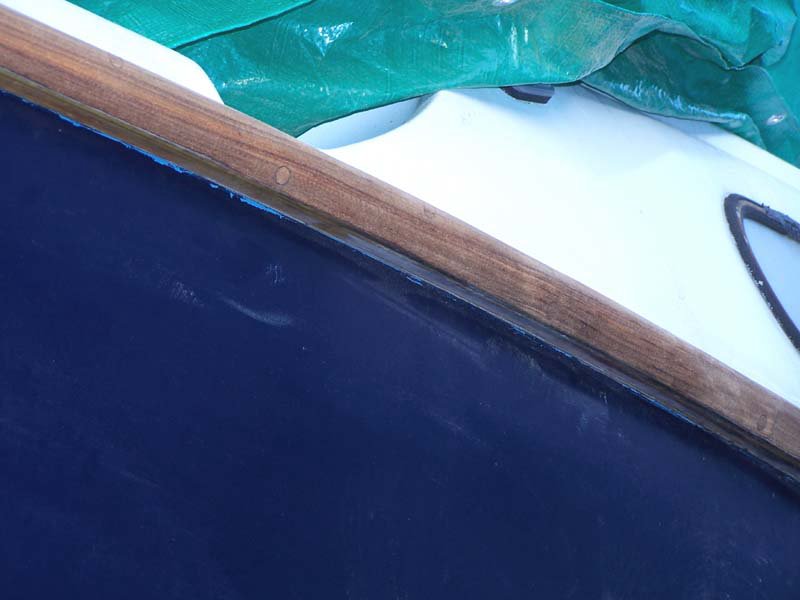
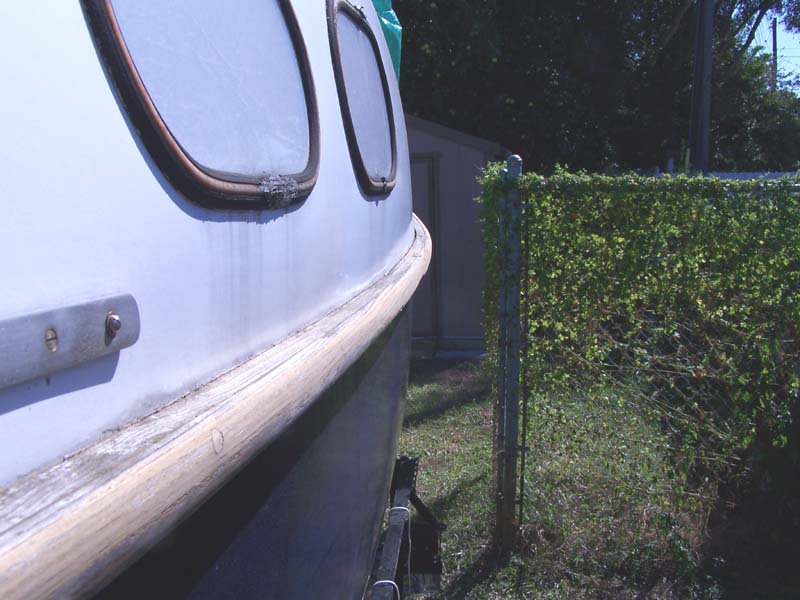
1. Refinish the rub rails was a complete success. I am amazed at how much better they look. Even the neighbors were impressed. I know there are many more important items on the boat that need my attention (like the paint and ports) but I wanted to start out with a small project that I was pretty sure would look nice and give a positive start to the entire venture. The former owner I guess trying to cut a corner with maintaince, covered the rub rails with fiberglass resin...which of course being exposed to the sun turned yellow then started to crack and peel. Followed was a silvering of the wood. So Rich did a quick sanding during the week and determined yes it was salvageable. On Saturday after getting back home from West Marine I broke out with the Dewalt orbital and some 60 grit. With some assistance from my trusty putty knife the rail was looking much better. I followed the orbital sander by hand with 220 grit. I was thinking varnish for the rails but Rich and Yashi from back in Georgia both said I should go with teak oil instead. Boy am I glad I listen to them. I love the stuff. Just call me a teak freak. If I could teak the fiberglass hull I would. It's cheap, looks fantastic and it's as easy to maintain as running a duster on your furniture.

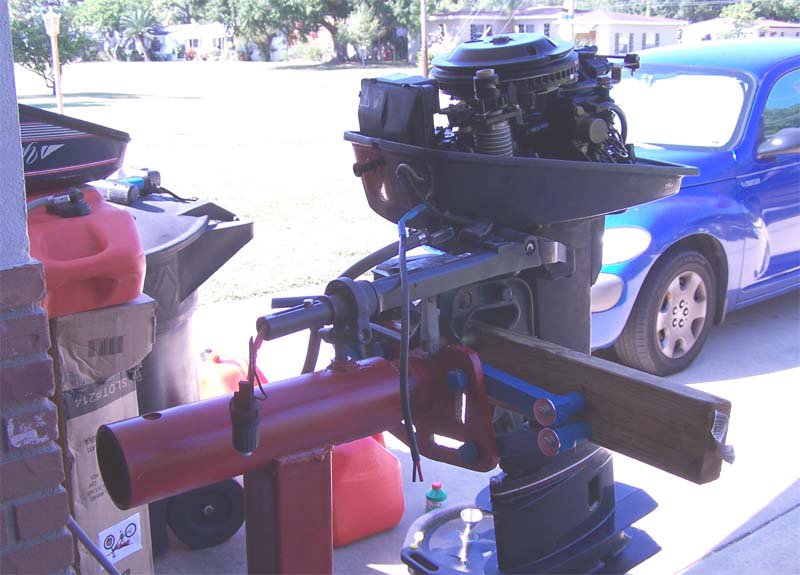
2. Get the outboard running. I take no credit for this as Rich did all the work. I just bought the new fuel line for it. While I was doing my best to cover myself from head to toe with sanded teak dust, Rich was tinkering with the outboard. I wasn't present for the entire ordeal but it went something like, clean the plugs, fuel filter, change the gear oil, mix the fuel cause it's a 2 stroke, prime the engine and it worked! He was right it was simple fuel contamination. It seems to start consistently now on the 4th or 5th pull. I guess the part that strikes me as being the coolest is the fabrication work Rich did. A piece of the internal throttle control assembly was missing and there was no way to buy a new one. It was a tiny piece of rounded metal drilled with a hole to accept a pin. When you twisted the throttle it slid up and down a groove in the handle to control the engine rpms. Rich fabricated a new piece using a masonry self tapping screw head. I should of had him make 2 so I can just show the other one to people cause it's really neat. So few people know how to really make things anymore. There is still some work that needs to be done, the kill switch is beyond repair and a new one will have to be wired in. Until this can be done simply choking the engine works nicely to kill it. All in all I consider it a success. Just a FYI for the 2.5 people who read the site and are still awake, the picture of the engine is with the cover off, mounted on a engine stand (Rich fabricated the mount for that too) with the throttle assembly off. It looks much nicer in person but I just wanted to give you a feel for the work that was done.
3. The companionway still needs a lot of work to get it up to par. The washboards are sanded and teaked. Told ya I love the stuff now. But there will be a problem. The washboards have been sanded and sanded over the years and are getting to be a lose(r) fit in the slats. They will work for keeping critters out of the inside and will probably work just fine at the dock during the rain too but for offshore work they are too loose imho. I plan on heading over to Don's Salvage Yard in a few months and get some scrap teak pieces and fabricate new washboards from scratch. The companionway frame cleaned up nicely too. The hatch cover is the real story on this project....but it's not done yet so no pictures or the rest of the story til then. This pretty much brings you up to date with the state of BeBop right now. Next weekend I plan to start sanding down the decks in preparation of receiving new paint. Until then.....
posted by Jammer @ 7:58 PM
![]()

0 Comments:
Post a Comment
<< Home