Cockpit Lockers, Halyards and Shelves? Check......
I have some more pictures from the last two weeks that show what I've done to the inside. The interior is nearly complete except for the little stuff, I still need to put up some carpet underneath the quarterberths, finish painting the door for the head, put up some curtain rods etc, but that's no big deal and I'm working on that a little bit at a time during the week after work.
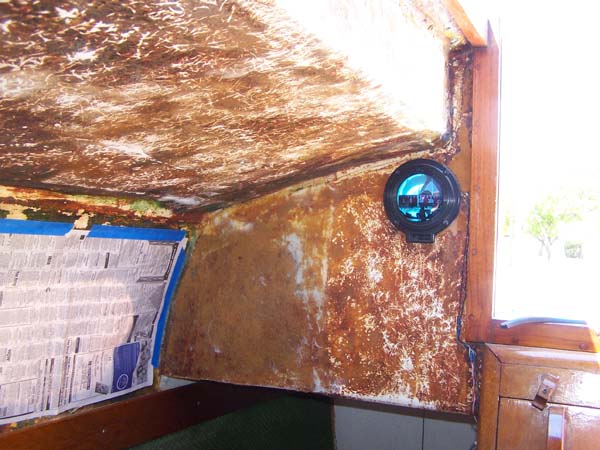
Check out the new shelves on the port side.
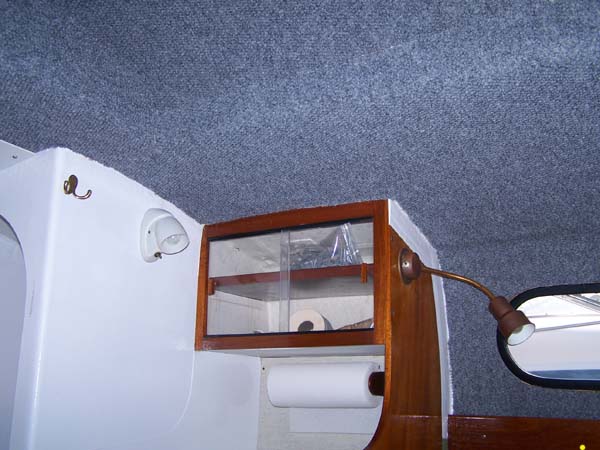
 The head area is nearly complete now. Like I said, still need to finish the door and put it back in and I need to figure out a way to secure the head to the platform so it won't move around in a critical moment ya know? ^_^
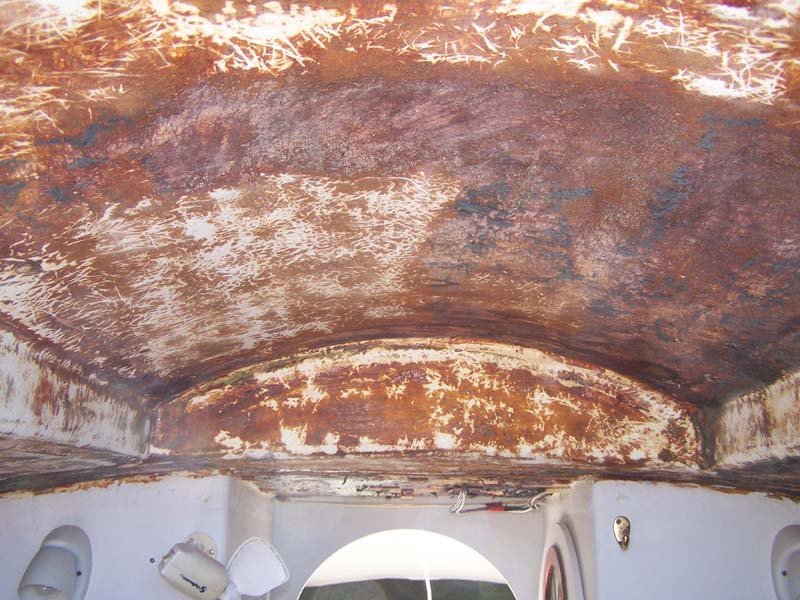
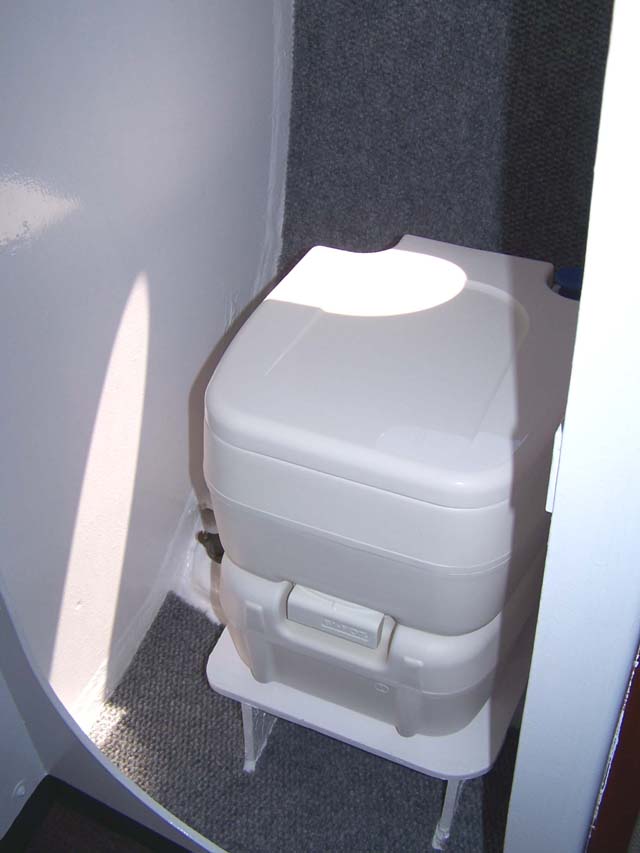 This is the new ground tackle locker completed. (thanks again Derek) That bottom piece is bonded in so it creates a waterproof barrier forward that is higher than the waterline. This might buy me some time if I get a puncture forward to fix it. I'm really gonna try hard to not sail into reefs though. That "abandon ship" stuff just has a way of ruining your whole day.
 Over the past six weeks I've been purchasing my new lines and halyards also. You can see in this picture what the old jib sheets looked like vs the new ones. Rich and I just cut to length with a hot knife (spare kitchen knife + propane torch=perfect burnt ends) I've purchased 3 3/8" 95 foot halyards with snap shackles, 1 1/4" 95 foot topping lift and 1 7/16" 150' feet of dacron line. This will replace all the running rigging on BeBop including new line for the boom vang and bumpers. I managed to do it for under 375 bucks too. West Marine would of cost between 550 and 650 for the same stuff. Now that I have mine and you won't be competing with me, I'll share with you all where to get them so cheap. In a word.....Ebay. Oh, yeah.
Here is the new cockpit locker cover(s) that Rich and I have spent the weekend working on. The picture is mediocre but they look real nice over the gapping holes that are there right now. We are just using the scrap 1/4" marine plywood from building "Notes." I started to show a lot of the build pictures but I think I'll wait until they are done to see how they come out to share them. I'm not bad at fabrication but this project is a bit frustrating because of how they need to attach.
 This last one is a view of BeBop you haven't seen since I 1st pulled her out of the water. My neighbor took out his stink pot, er, powerboat so I was able to grab this while he's out "boating." Mutter....ya know the old saying about boaters and sailors. Anyway, enjoy the different view, it was a treat for me too.
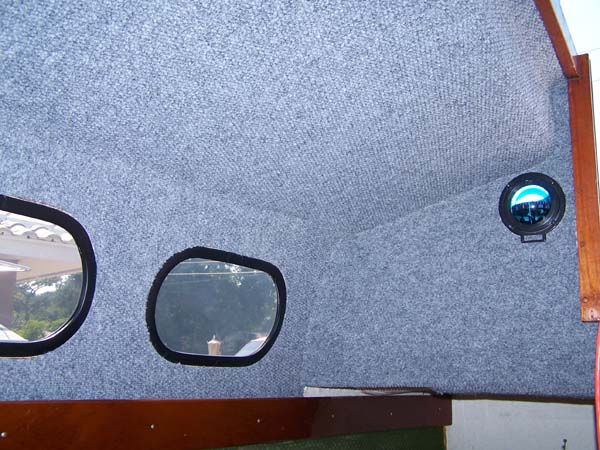
 Next weekend I'm hoping to finish up the cockpit locker covers, get the door to the head installed and perhaps get the curtain rods in for the ports above the quarterberths. We'll see how it goes, I pushed the budget a bit buying the haylards so money is pretty tight until next month.
People have been asking when is she going back in the water. If I had the money, I could put her in now with anti-fouling paint. But by waiting until August I'm saving 3 months slip fee and gaining time to work on the smaller projects too. (a serious time sink) I'd rather be sailing but by having patience I should be able to have a new dodger made, I'm going to make the curtain for the interior, the mainsail cover, tiller cover, rear cockpit locker cover, new washboards fabricated, install a rear boarding ladder, put in reef points on my main sail etc. See? I still have things to do and if she was floating they wouldn't be worked on because I would be out sailing. It's all really becoming a money issue. I can only do one or two things per month that's on the list. I have them prioritized in my head and hopefully by years end everything will be accomplished. Until next time....Fair Winds...
posted by Jammer @ 6:52 PM
9 comments
![]()